
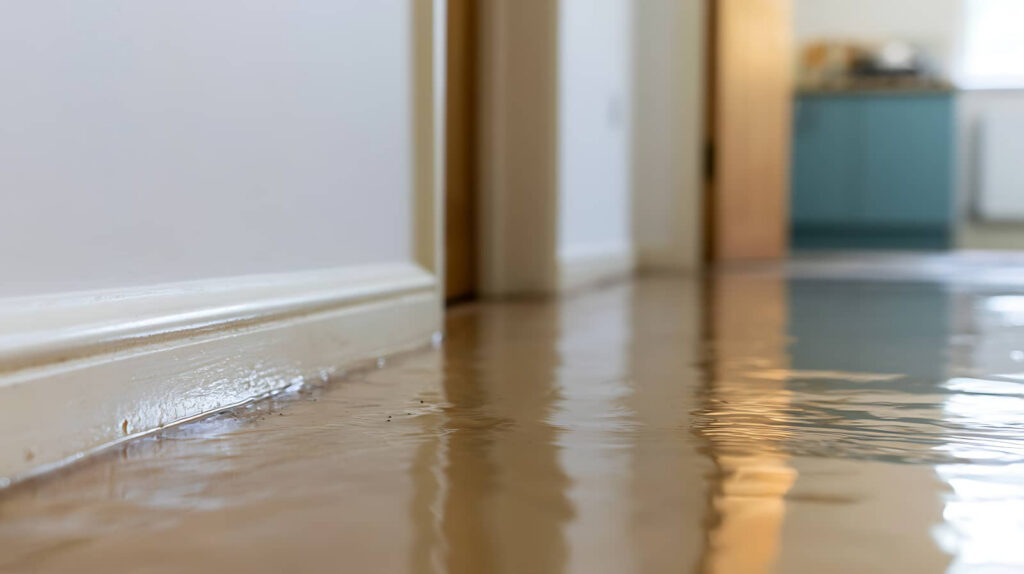
When water enters your home from a leak, flood, or soaked material, Ceiling Water Damage Repair should begin quickly and follow a clear process. You first identify the source, stop active intrusion, and measure how far moisture has spread into ceilings, walls, floors, and contents. From there, drying, cleaning, and material decisions must be made with safety and structural performance in mind. The next steps determine whether the damage stays contained or continues to advance.
Key Takeaways
- Shut off affected power if water nears fixtures, contain drips, and keep people away from sagging or cracked ceiling areas.
- Look for warning signs like deepening stains, soft drywall, bulging sections, active dripping, or widening cracks along seams.
- Stop the source quickly by closing the nearest water valve or addressing the leak above the ceiling.
- After controlling the leak, open damaged areas, remove wet insulation, and dry framing thoroughly with dehumidifiers and air movers.
- Use a moisture meter to confirm dryness, then patch, stain-block, or replace damaged materials; call professionals for large or recurring leaks.
Stop the Ceiling Water Leak Fast
At the first sign of ceiling water damage, stop the leak fast to limit structural weakening, mold growth, and electrical risk.
Shut off power to affected circuits if water nears fixtures, then contain dripping with buckets and plastic sheeting. If possible, close the nearest water supply valve or isolate the source above the ceiling.
Next, relieve pooled water carefully by puncturing the lowest bulge into a container, wearing eye protection and gloves.
You’ll protect nearby members of your household by moving furniture, drying slick floors, and improving ventilation. Don’t run fans near energized wiring.
Call a qualified roofer, plumber, or restoration team to verify moisture paths and complete ceiling water damage repair.
Acting together and early helps your home stay safer, drier, and structurally sound for everyone inside.
Spot Ceiling Water Damage Early
You should watch for early stain warning signs like yellow-brown rings, peeling paint, or slight drywall swelling, since they often indicate active moisture intrusion.
You can also catch hidden moisture clues by checking for musty odors, soft spots, or fine cracking around seams and fixtures before visible leaking starts.
Don’t ignore small leaks, because even minor seepage can weaken ceiling materials, increase electrical risk, and expand the repair scope quickly.
Early Stain Warning Signs
Because ceiling leaks often start small, faint yellow, brown, or copper-colored stains are usually the first visible sign that moisture is moving through drywall or plaster. You should treat even dime-sized discoloration as an active warning, not a cosmetic issue. Mark the stain’s edges with pencil, date it, and recheck it regularly to track spread.
You’ll also want to note ring-shaped outlines, uneven patches, or concentrated spots forming beneath bathrooms, roof valleys, or HVAC lines. These patterns often help you narrow the source area before sagging develops.
If paint begins to dull around the stain, stop using nearby fixtures if safe, and arrange inspection promptly. Acting early protects your ceiling assembly, reduces repair scope, and helps you stay ahead of structural weakening while keeping your home safer for everyone.
Hidden Moisture Clues
Although ceiling surfaces can look intact, hidden moisture often reveals itself through subtle changes in texture, odor, and room conditions before obvious staining appears. You may notice paint that feels cool, slightly tacky, or uneven under light. A faint musty smell, persistent humidity, or localized condensation can also signal trapped moisture above.
Check for soft drywall edges near vents, recessed lights, and ceiling joints, where moisture often migrates first. Use a flashlight at a low angle to spot minor rippling, blistering, or sheen differences.
If you have a moisture meter, compare suspicious areas with dry sections for abnormal readings. You protect your home best by monitoring these early indicators consistently and documenting changes. Staying alert helps your household respond safely, confidently, and as part of a community that values prevention.
Small Leaks, Big Risk
Even a pinhole drip can saturate insulation, weaken drywall, and create a path for mold before a visible stain forms. If you wait for discoloration or sagging, you’ve already allowed moisture to travel along joists, fasteners, and vapor barriers.
That hidden spread raises repair scope and increases the chance of electrical hazards overhead.
You protect your home best by treating small signs as urgent: a musty odor, peeling paint, a soft spot, or a faint seam line. Check after storms, plumbing use, and HVAC cycles.
Use a moisture meter if you can, and shut off power before touching damp ceiling materials near fixtures. When you respond early, you help keep your household safe and preserve the structure everyone depends on daily, together.
Check Whether the Ceiling Is Unsafe
Before you start repairs, check whether the ceiling shows collapse indicators such as pronounced sagging, active dripping, cracked joints, or soft, separating drywall.
If you see these conditions, keep people clear of the area, shut off electricity to affected circuits if it’s safe, and place containers to control water below the damage.
These immediate steps reduce injury risk and help you contain the failure until a qualified professional inspects the ceiling.
Signs Of Collapse
When water damage weakens a ceiling, you need to treat sagging drywall, widening cracks, soft spots, or bulging sections as warning signs of possible collapse. These changes often mean gypsum core failure, fastener pull-through, or saturated insulation loading the ceiling beyond design limits.
If you’re seeing multiple symptoms together, your home’s overhead assembly may no longer be stable.
- Deepening stains with a growing low spot
- Cracks spreading from seams or corners
- A spongy feel under light pressure
- Popping sounds, screw heads, or tape release
You should also watch for bowed framing lines, separating trim, or repeated staining after drying. Those patterns suggest ongoing moisture intrusion and structural weakening.
Immediate Safety Steps
Once you’ve noticed sagging, cracks, or soft spots, your next step is to decide whether the ceiling is safe to remain under at all. Treat any bulge, active drip, or widening seam as a warning sign. If the surface bows downward, sounds hollow, or feels spongy, move people, pets, and belongings out immediately.
Next, isolate the area and reduce risk. Shut off electricity to affected fixtures if water is near wiring. Don’t puncture the ceiling unless a qualified professional directs you, because trapped water can release suddenly and increase collapse risk.
Use a flashlight to inspect from a safe distance, not a ladder beneath the damage. If drywall is separating from framing or debris is falling, leave the room and call emergency restoration help right away immediately.
Dry Hidden Moisture Before Patching
Start by opening the damaged area enough to expose damp drywall, insulation, and framing. Then dry every layer fully before you patch anything. Hidden moisture keeps migrating, so you need airflow, heat control, and verification, not guesswork. As part of a careful repair community, you’ll protect your home and everyone in it by drying methodically.
- Remove wet insulation that can’t rebound or dry quickly.
- Run air movers across cavities, not straight into soaked materials.
- Use a dehumidifier to pull moisture from framing and trapped air.
- Confirm dryness with a moisture meter before moving forward.
Keep power off in affected zones until materials and fixtures are dry. Check adjacent bays too, because water rarely stays where stains appear.
If drying stalls after 48 hours, bring in a restoration professional.
Patch, Stain-Block, or Replace the Ceiling
Three repair paths usually make sense after drying: patch a limited, solid area; stain-block and repaint a surface that’s structurally intact; or replace sections that stayed soft, swollen, delaminated, or mold-contaminated.
You’ll get the safest result by matching the method to the material’s condition, not just the stain’s size.
Patch only where drywall or plaster remains firm and flat. Cut back to sound edges, fasten any loosened board, tape seams, and apply compound in thin coats.
If the ceiling is solid but discolored, use a stain-blocking primer before repainting so tannins and rust don’t bleed through.
Replace any area that still flexes, crumbles, or shows paper separation.
Wear eye protection, gloves, and a respirator rated for dust and spores, and support each other by checking work carefully together.
Know When to Call a Water Damage Pro
If the leak affected a large area, keeps returning, or likely reached insulation, framing, or electrical components, call a water damage professional instead of treating the ceiling as a surface repair. You protect your home and everyone in it by escalating early, before hidden moisture drives mold growth, material failure, or electrical hazards.
- Recurring stains suggest an unresolved source above the ceiling.
- Soft drywall or widespread sagging can mean structural weakening.
- Damp insulation loses R-value and can hold moisture against framing.
- Nearby fixtures, wiring, or breakers raise shock and fire risk.
A qualified pro uses moisture meters, thermal imaging, containment, and controlled drying to verify the wet boundary and prevent secondary damage.
You’re not overreacting—you’re following the same safety-first standard responsible homeowners trust when conditions exceed cosmetic repair alone.
Frequently Asked Questions
How Much Does Ceiling Water Damage Repair Typically Cost?
You’ll typically pay $300 to $1,200 for ceiling water damage repair, but costs can exceed $2,500 if structural drying, insulation replacement, or mold remediation is needed. You protect your home and everyone in it by acting early.
Will Homeowners Insurance Cover Ceiling Water Damage Repairs?
Yes—your homeowners insurance may cover ceiling water damage repairs if a sudden pipe burst or storm caused them. Picture stains spreading overhead; document damage, stop leaks fast, and check exclusions, because gradual deterioration usually isn’t covered.
How Long Does Ceiling Water Damage Repair Usually Take?
You can expect ceiling water damage repair to take one to three days for minor issues, or up to a week if drying, insulation replacement, and structural repairs are needed. Acting early helps you protect your home safely.
Can Ceiling Water Damage Lead to Mold Growth?
Yes—when moisture lingers, you’re opening Pandora’s box for mold growth. You should dry, inspect, and repair ceiling damage quickly, because hidden dampness can compromise indoor air, spread spores, and put your household at risk.
What Tools Are Needed for DIY Ceiling Water Damage Repair?
You’ll need a moisture meter, stud finder, utility knife, drywall saw, pry bar, drill, screws, joint compound, putty knife, PPE, fans, and plastic sheeting. You protect your home and everyone in it by working safely.
Wrap-Up
Act fast, inspect carefully, and dry thoroughly to keep ceiling water damage from turning into sagging, collapse, or mold. If you stop the leak, check for hidden moisture, and repair weakened materials promptly, you’ll protect both structure and indoor air quality. If stains spread, drywall softens, or the ceiling bows, don’t wait—call a qualified water damage pro. Early action prevents deeper repairs, reduces safety risks, and keeps your home stable, dry, and safe for everyone.