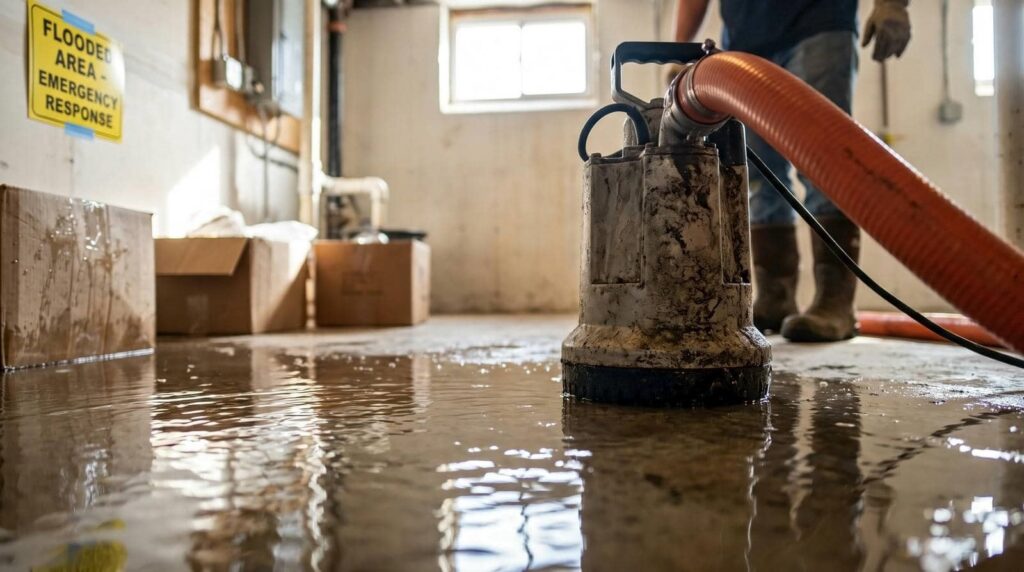
Emergency Water Removal begins with a rapid response to limit damage after a burst pipe or other water emergency. Shut off the main water supply, disconnect power to affected areas if it is safe, and open low-level faucets to relieve pressure. Remove standing water as quickly as possible, starting near the source, and isolate saturated materials before moisture spreads into walls, subfloors, and other hidden spaces. Fast water extraction, thorough drying, and moisture monitoring can help prevent structural damage, mold growth, and more extensive repairs.
Key Takeaways
- Shut off the nearest valve or main supply immediately, then open a lower faucet to relieve pressure and drain remaining water.
- Eliminate electrical danger by avoiding standing water near outlets and turning off power at the breaker only if safe.
- Begin water removal at once using a wet vacuum, pump, or extractor, moving slowly from the source toward drains.
- Remove soaked carpet pad, wet contents, baseboards, and cut drywall at least 12 inches above the waterline.
- Dry floors, walls, and cavities with air movers and dehumidifiers, and call professionals if water spreads or hidden moisture is likely.
Stop the Pipe and Turn Off Power
Before you remove any standing water, stop the source by closing the nearest shutoff valve or the main water supply if the break is severe. Confirm flow has stopped at the damaged line, then open a lower faucet to relieve pressure and drain residual water safely.
Next, isolate electrical hazards. If water is near outlets, appliances, cords, or your panel, don’t step into pooled areas to reach switches. Cut power at the breaker only if you can access it without crossing wet surfaces; otherwise, call your utility or an electrician immediately.
This sequence supports emergency water removal after burst pipe damage by reducing shock risk and limiting continued discharge. You’re protecting your space the right way, and that’s how responsible property teams keep everyone safer before cleanup begins.
Begin Burst Pipe Water Removal Fast
Start water removal as soon as you’ve stopped the leak and isolated electrical hazards, because every minute of contact increases absorption into flooring, drywall, insulation, and contents.
You should work from the source outward, pushing standing water toward the nearest drain, exterior exit, or extraction point.
Use a wet vacuum, pump, or portable extractor sized for the depth and area affected. Keep suction passes slow and overlapping to maximize recovery.
Squeegee hard surfaces after extraction to pull residual water into collection paths. Check adjacent rooms, closets, and baseboard lines for migration, and continue removing visible water until surfaces no longer release it under pressure.
If drains back up, redirect flow immediately and contain spread with towels or barriers. Acting quickly keeps your space more stable and helps everyone involved stay coordinated, confident, and in control.
Remove Carpet, Drywall, and Wet Items
Remove saturated materials in order of water retention and contamination risk. You should extract area rugs first, then detach and discard soaked carpet pad, which traps water and bacteria quickly.
If broadloom carpet stayed wet beyond recovery limits, cut it into manageable strips, bag debris, and document disposal.
Next, remove baseboards carefully for possible reinstallation, then cut drywall at least 12 inches above the visible waterline or to the nearest clean break. Discard insulation that lost integrity.
Sort contents immediately. You’ll separate porous items, such as cardboard, upholstered furniture, and pressed wood, from nonporous salvageable items.
Move wet fabrics, books, electronics, and personal belongings to a designated processing area for evaluation.
Label rooms, track removed materials, and coordinate each step so everyone follows the same restoration standard together.
Dry Floors, Walls, and Wall Cavities
Once you’ve cleared unsalvageable materials, dry the structure immediately to stop secondary damage and bring moisture levels back to stable conditions.
Start with floors: extract standing water, then remove residual moisture with air movers directed across the surface, not straight down. Lift baseboards where needed so trapped water can escape.
Check walls with a moisture meter, then open small inspection points or drilled weep holes at the base to vent wall cavities. Use controlled airflow and dehumidification to pull moisture from insulation, studs, and drywall edges.
Keep interior doors open to balance circulation between rooms. Reposition equipment every day to eliminate damp pockets and verify progress with repeat readings.
When you follow a disciplined drying sequence, you help protect the home everyone depends on, including your own peace.
Know When to Call Water Removal Pros
When should you call water removal pros after a burst pipe? Call immediately if water has spread beyond one room, contacted drywall, insulation, subfloors, or electrical areas, or stood longer than a few hours.
You also need help if ceilings sag, baseboards swell, or hidden moisture is likely inside wall cavities. Fast escalation limits spread, protects materials, and keeps your response aligned with proven drying standards.
You’re not overreacting by bringing in a trained team early. Pros use moisture meters, thermal imaging, extraction units, and calculated airflow to map damage and dry structural materials correctly.
If you can’t stop the leak, remove water fully, or verify dryness, don’t guess. Bring in specialists who can document conditions, stabilize the area, and help your property return to a safe, dry baseline.
Frequently Asked Questions
How Can I Prevent Burst Pipes During Freezing Weather?
Insulate exposed pipes, seal air leaks, keep your heat consistent, and let faucets drip during freezes. You should disconnect hoses, drain outdoor lines, and open cabinet doors so warmer air circulates around vulnerable plumbing.
Will Homeowners Insurance Cover Burst Pipe Water Damage?
Yes, your homeowners insurance often covers burst pipe water damage if the loss is sudden and accidental. You should verify exclusions, maintenance-related denials, and frozen-pipe requirements in your policy, then document damage and report it promptly.
How Long Does Burst Pipe Water Damage Restoration Usually Take?
Burst pipe restoration usually takes 3 to 7 days, but severe damage can stretch beyond two weeks. Like a ticking clock, you’ll speed results by extracting water fast, drying materials thoroughly, and monitoring moisture daily.
Can Burst Pipe Damage Lead to Mold Growth Later?
Yes, burst pipe damage can lead to mold growth later if you don’t remove water quickly and dry materials completely. You reduce that risk by extracting water immediately, dehumidifying affected areas, and verifying moisture levels systematically.
What Signs of Hidden Water Damage Should I Watch For?
Watch for warped baseboards, bubbling paint, musty odors, staining, soft drywall, cupped flooring, rising humidity, and unexplained utility spikes. You should also inspect adjacent rooms, cavities, and insulation, because hidden moisture often migrates beyond visible leaks.
Summary
When a pipe bursts, you can’t afford delays. Shut off water and power, remove standing water immediately, and strip out saturated materials before moisture spreads. Dry floors, walls, and cavities with controlled airflow and dehumidification until readings confirm acceptable moisture levels. If damage extends beyond surface materials or drying stalls, call water removal professionals. In this situation, time is money: fast, methodical action reduces structural damage, limits microbial growth, and shortens your overall recovery timeline.