
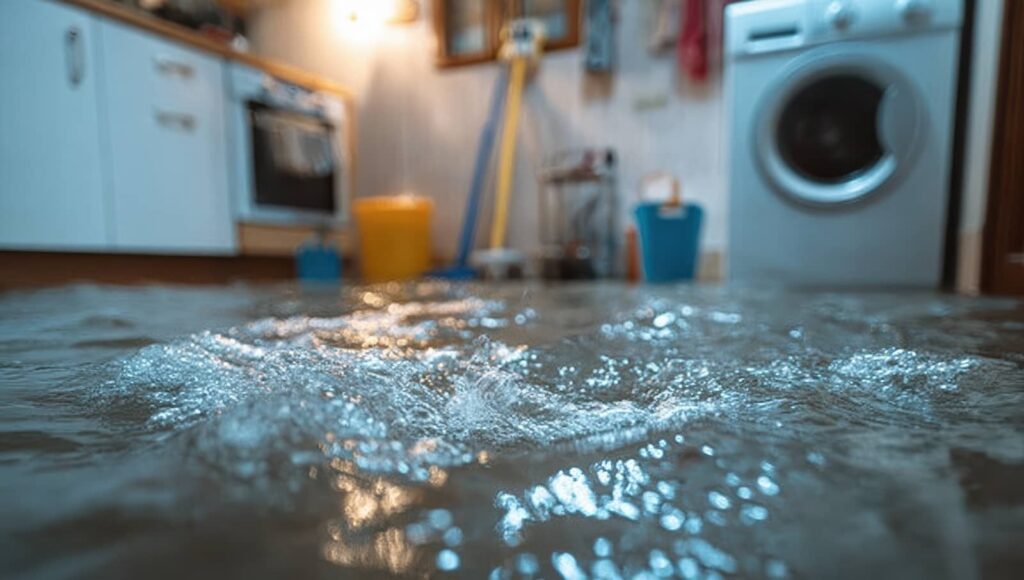
When your home floods, Flooded Home Water Removal can’t begin until you control the hazards. First, verify that the structure is safe, stop the water source, and shut off power before documenting any damage. From there, each step matters, from removing standing water to preventing mold and addressing potential contamination. Following the right order can help prevent further damage and reduce the risk of putting yourself or others in danger.
Key Takeaways
- Inspect the home for structural damage, sewage odors, and electrical hazards before entering, and wear boots, gloves, eye protection, and an N95 respirator.
- Stop the water source at the nearest shutoff valve and turn off electricity at the main breaker if it is safe.
- Photograph and video all damage room by room, recording affected items, serial numbers, and cleanup progress for insurance claims.
- Remove standing water with a wet/dry vacuum or pump, then clear soaked rugs, furniture, and debris to a dry ventilated area.
- Inspect for mold after drying, and call professionals for sewage exposure, HVAC contamination, hidden moisture, or mold covering over 10 square feet.
Make Sure the Home Is Safe to Enter
Before you step inside a flooded home, confirm that it’s safe to enter. Start with a slow exterior inspection. Look for foundation cracks, shifted steps, sagging roofs, broken windows, and bowed walls. If you see structural movement, keep everyone out and call a qualified inspector immediately.
Next, assess environmental hazards from the entry point. Watch for sewage odor, chemical containers, floating debris, visible mold, and wildlife seeking shelter.
Wear waterproof boots, gloves, eye protection, and an N95 respirator before crossing the threshold. Bring a flashlight, not an open flame. Move carefully and test each surface for stability as you advance.
These flooded home water removal steps protect you, your household, and the neighbors who rely on each other during recovery. Careful entry keeps your cleanup organized, safer, and effective.
Stop the Water and Shut Off Power
Next, you should locate the water source and stop the flow at the nearest safe shutoff valve.
If water is near outlets, appliances, or wiring, turn off electricity at the main breaker only if you can reach it without entering standing water.
These two actions help you control the hazard and reduce the risk of shock and further water damage.
Locate And Stop Source
Act immediately to identify where the water is entering, then stop the flow at its source if you can do so safely. Work systematically so you protect your home and support everyone relying on you.
Trace visible water backward, checking supply lines, appliance hoses, fixtures, roofs, windows, and foundation openings. If a plumbing line failed, close the nearest isolation valve or the main water shutoff. If weather caused intrusion, use temporary barriers only when conditions remain stable.
- Follow the water path to the highest active entry point.
- Close local fixture valves before using the main shutoff.
- Contain rainwater with tarps, towels, or bins as needed.
- Document the source with photos for repair planning and insurance.
If you can’t safely access the source, step back and call emergency help immediately.
Turn Off Electricity
Because water can energize metal surfaces, wiring, and appliances, you should shut off power to affected areas as soon as you’ve stopped the water and can do so without entering standing water or touching wet equipment.
If your breaker panel is dry and reachable, switch off the individual circuit or the main breaker. Use a flashlight, wear rubber-soled shoes, and keep one hand free for balance.
If the panel is wet, inaccessible, or near flooding, don’t risk it. Call your utility company or a licensed electrician immediately.
Unplug devices only when plugs, cords, and outlets are completely dry. As part of a careful homeowner community, you protect everyone by treating electricity as a hidden hazard.
Once power is isolated, you can move forward with inspection, documentation, and water removal more safely.
Document Damage Before Cleanup
Before you remove standing water or move damaged items, document every affected area with clear photos and video so you preserve an accurate record for insurance, remediation planning, and potential safety review.
Work systematically, room by room, and capture wide shots first, then close-ups of materials, appliances, and visible waterlines. Include timestamps if possible, and narrate what you’re seeing to create a reliable sequence your insurer and restoration team can follow.
Our community of prepared homeowners knows thorough records reduce disputes and support safer decisions.
- Photograph each wall, floor, ceiling, and doorway
- Record serial numbers on appliances and equipment
- Capture staining, warping, swelling, and debris deposits
- Save receipts, notes, and contact names in one folder
Don’t discard damaged belongings yet; document them in place first, with labels visible whenever possible.
Remove Standing Water Safely
Once you’ve documented the damage, remove standing water only after you’ve confirmed the area is safe to enter and the electricity and gas are shut off if water reached outlets, appliances, or utility lines.
Put on waterproof boots, gloves, and an N95 or respirator before you begin. Treat all floodwater as contaminated.
If water is shallow, use a wet/dry vacuum or submersible pump rated for flood conditions. Work in sections, starting at the lowest point and directing discharge away from your foundation.
Don’t drain deep flooding too fast; rapid pressure changes can stress walls and floors. Open windows only if outdoor humidity is lower than indoor humidity.
Keep children and pets out of the work zone. By following a careful process, you protect your home and everyone depending on you.
Clear Out Wet Rugs, Furniture, and Debris
After you remove standing water, clear out wet rugs, furniture, and loose debris to reduce contamination and speed drying.
You should move soaked belongings to a designated sorting area, then separate salvageable items from materials that can’t be cleaned or dried safely.
If floodwater contacted porous debris, you must bag and discard it promptly to limit mold growth and exposure hazards.
Remove Soaked Belongings
Start by removing soaked rugs, upholstered furniture, cardboard, and loose debris from the flooded area so they don’t trap moisture against floors and walls. Work in sections, and lift items carefully to avoid injury and surface damage.
- Wear gloves, boots, and eye protection before handling wet materials.
- Move belongings to a dry, ventilated staging area for inspection.
- Separate salvageable items from those that are structurally weakened.
- Place furniture on blocks or foil to reduce further water contact.
You’ll protect your home best by creating airflow around cleared surfaces as soon as possible. Open pathways so extraction equipment and drying fans can reach baseboards, corners, and under-cabinet voids.
If an item sheds fibers, swells, or collapses when lifted, handle it gently and isolate it from stable belongings. You’re building a safer recovery environment.
Discard Contaminated Debris
Discard porous debris that’s been exposed to contaminated floodwater, including wet rugs, carpet padding, upholstered furniture, cardboard, and insulation, because these materials can retain bacteria, silt, and sewage residue deep below the surface.
Don’t try to salvage them unless a certified restoration professional confirms they’re safe. Wear gloves, boots, eye protection, and an N95 respirator before handling debris.
Work systematically, room by room. Bag smaller waste in heavy-duty contractor bags, and separate sharp or broken items to prevent punctures.
Cut saturated carpet into manageable strips, then remove padding and tack strips carefully. Set debris outside, away from clean areas, so your recovery zone stays organized.
If local regulations require special disposal for contaminated materials, follow them exactly. Taking these steps protects your household and helps your community recover safely together.
Dry, Clean, and Disinfect Each Room
Begin by drying one room at a time so you can control moisture, contamination, and safety risks. Open windows if weather allows, run fans to move air outward, and use dehumidifiers to pull water vapor from materials.
Work systematically so everyone in your household follows the same safe sequence. Then clean hard surfaces with detergent and hot water before applying an approved disinfectant at the labeled dwell time.
- Remove wet rugs, curtains, and cushions for separate washing and drying.
- Wipe walls, baseboards, and floors from clean areas toward dirtier zones.
- Replace cleaning cloths often to avoid spreading contaminants between surfaces.
- Wear gloves, boots, and eye protection while handling chemicals and residue.
Check hidden cavities only if access is safe and electrical hazards are eliminated before you continue.
Check for Mold and Call Pros if Needed
Once surfaces have dried enough for inspection, check for mold growth on drywall, wood trim, insulation, carpeting, and inside cabinets, especially where water sat for more than 24 to 48 hours.
Look for staining, fuzzy patches, warping, and musty odors. Wear gloves, eye protection, and an N95 mask before disturbing suspect materials.
If mold covers more than about 10 square feet, if sewage was involved, or if growth reached HVAC components, stop cleanup and contact certified remediation professionals.
You should also call pros when insulation, subflooring, or wall cavities remain damp, because hidden growth can spread quickly.
As a responsible homeowner, document affected areas with photos, isolate the space, and keep air moving only if it won’t spread spores.
Taking these steps helps protect your household and keeps recovery on track.
Frequently Asked Questions
Will Homeowners Insurance Cover Flood Damage and Water Removal Costs?
Usually, your homeowners insurance won’t cover flood damage or water removal from rising water; you’ll need separate flood insurance. It may cover sudden internal water incidents. Review your policy, document losses, and contact your insurer promptly.
How Long Does Professional Water Damage Restoration Usually Take?
You can expect professional water damage restoration to take three to seven days, though severe losses may need weeks. Your team will inspect, extract water, dry materials, monitor moisture, and verify safety before rebuilding begins.
Can I Stay in My Home During the Drying Process?
It depends—you can stay if professionals confirm safe air quality, stable electricity, and contained moisture. Don’t jump the gun; use isolated rooms only, avoid equipment, and follow the restoration team’s clearance, monitoring, and safety instructions.
What Equipment Do Professionals Use to Detect Hidden Moisture?
You’ll see professionals use moisture meters, thermal imaging cameras, hygrometers, and borescopes to find hidden moisture. They’ll also use data logging sensors to track drying, helping you confirm your home meets safe, thorough restoration standards.
How Can I Prevent Future Flooding in My Home?
Inspect your roof, seal your foundation, clean your gutters, and test your sump pump regularly. You’ll reduce risk by grading soil away, installing backflow valves, and joining neighbors in routine drainage maintenance efforts.
Conclusion
Even if you think the flooding looks minor, you can’t assume the damage is harmless. Hidden moisture, contaminated water, and electrical hazards can escalate fast. If you follow these water removal steps in order—verify structural safety, shut off utilities, document losses, extract water, remove saturated materials, dry and disinfect thoroughly, and inspect for mold—you’ll reduce risk, protect your claim, and restore your home more effectively. When contamination or mold spreads, bring in certified remediation professionals immediately.