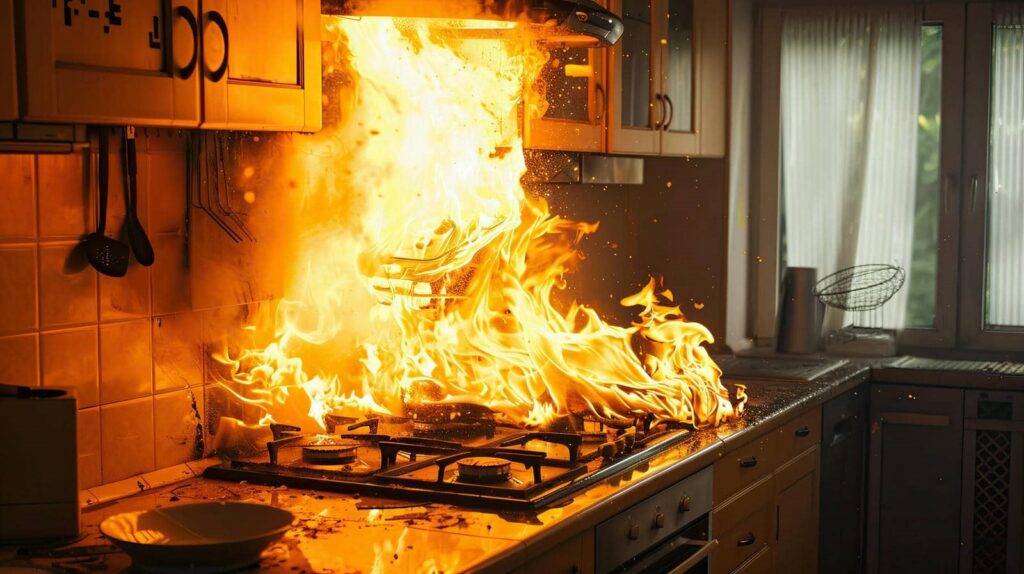
After a fire, you need to board up damaged openings fast to stop weather, debris, pests, and trespassers from worsening the loss. You should inspect the structure first, then secure windows, doors, and roof gaps with exterior-grade plywood and proper fasteners. If the frame is unstable or heat damage is severe, you shouldn’t improvise. The right method can protect what’s left, but one overlooked step can change everything.
Key Takeaways
- Emergency board up secures damaged openings and helps protect the property from weather, theft, and vandalism.
- Inspect the structure first for instability, hot embers, loose wiring, and other hazards before starting.
- Cover broken windows, doors, and roof breaches quickly to limit rain, wind, debris, and wildlife intrusion.
- Use exterior-grade plywood and corrosion-resistant fasteners sized appropriately for the opening and expected load.
- Call a trained fire board up service promptly to stabilize the site and support cleanup, inspection, and repairs.
Why Fire Board Up Matters After a Fire
After a fire, emergency board up helps secure exposed openings, limit additional damage, and create safer conditions for cleanup and restoration.
You protect your property by sealing broken windows, doors, and other vulnerable points before weather, animals, or unauthorized entry make conditions worse.
When you choose emergency board up after fire, you also help stabilize the site for restoration crews, insurers, and inspectors who need a controlled environment.
This step reduces interior exposure to wind, rain, debris, and temperature swings, which can spread loss fast.
You’re not handling the situation alone; this is a practical part of recovery that helps you regain control, preserve what’s left, and move forward with a safer, more organized plan.
Check Fire Damage Before You Board Up
Before you board up, you’ll need to inspect the structure for sagging framing, compromised supports, and other signs it can’t safely carry added loads.
Check for hidden hazards like hot spots, weakened wiring, smoke-damaged materials, and sharp debris, and don’t enter unstable areas without proper precautions.
Document all burned areas with clear photos and notes so you can plan the board-up work accurately and support the restoration process.
Inspect Structural Stability
Start with a structural check to make sure the fire hasn’t compromised walls, floors, roof framing, or load-bearing members. You should look for sagging, bowing, cracking, or any movement that suggests the frame can’t safely carry load.
If you see shifted studs, split rafters, or a leaning wall, don’t board up that area until a qualified professional confirms it’s stable.
You can also test for soft or spongy surfaces underfoot, since fire and heat can weaken subfloors and joists.
Keep your distance from damaged edges and avoid adding pressure where members already look stressed. A careful inspection helps you and your crew protect the property without making the damage worse.
When the structure’s sound enough, you’ll be ready to secure openings with confidence and move forward together.
Identify Hidden Hazards
Hidden dangers can linger in fire-damaged areas long after the flames are out, so you need to check for hazards before you board up any opening.
Look for smoldering insulation, hot embers, fractured glass, loose wiring, and weakened drywall near windows, doors, and roof gaps. You should also watch for soot buildup, sharp metal, and standing water that may hide electrical risk.
If you smell gas, hear hissing, or see damaged utility lines, stay clear and call the proper responders before you work.
Wear gloves, boots, and a respirator to reduce exposure while you move through the site.
When you identify these issues early, you protect yourself, support your crew, and create a safer path for the board-up process.
Document Burned Areas
Once you’ve checked for immediate hazards, document every burned area before you board up the opening. Use your phone or camera to capture wide shots, then move closer for charred framing, melted materials, soot lines, and cracked masonry.
Include date stamps if you can, and note which rooms or exterior sections you’re recording. You’ll want clear evidence of structural loss, smoke migration, and any water intrusion from firefighting efforts.
Keep each image steady and well lit so adjusters and restoration crews can read the damage without guesswork. If you’re working with a trusted board-up team, share the photos right away so they can match their placement to the damage map.
Good documentation protects your claim and helps everyone on site stay aligned and confident.
Secure Windows, Doors, and Roof Openings
After a fire, you’ll want to secure any damaged windows, doors, and roof openings as quickly as possible to keep the property protected. You reduce exposure by covering each opening fully, then anchoring the barrier so wind, rain, and debris can’t enter.
Start with broken glass, warped frames, and compromised roof sections, since these spots let in moisture and pests. Check that each access point is closed off from the inside and outside when possible.
Keep the work area clear so you and your crew can move safely during restoration. When you seal these openings promptly, you help preserve structure, limit additional loss, and create a more stable place for the next repair step.
Together, you keep the property secure and ready for recovery.
Choose the Right Plywood and Fasteners
You’ll want to match plywood thickness to the size and exposure of each opening, using thicker panels where you need greater stiffness and impact resistance.
Choose corrosion-resistant fasteners so they hold securely in damp, fire-damaged conditions without rusting or losing grip.
When you pair the plywood and fasteners to the expected load, you improve the board-up’s strength and help keep the structure protected until repairs begin.
Plywood Thickness Options
Choose plywood thickness based on the size and condition of the opening, with 1/2-inch panels often working for smaller, stable openings and 5/8-inch or thicker sheets better suited for larger spans or weakened framing.
You’ll get better rigidity when the sheet spans less unsupported distance, so measure each opening before you cut. If the wall feels compromised, choose the thicker option to help the board hold its shape under wind and impact.
You should also match thickness across similar openings so your board-up looks orderly and performs consistently.
Keep panel edges flush to the frame, and cut cleanly for full contact.
When you select the right thickness, you’re helping protect your property and joining a safer, more coordinated restoration effort.
Corrosion-Resistant Fasteners
Once you’ve selected plywood that fits the opening, the next step is fastening it with corrosion-resistant hardware that can handle moisture, soot, and outdoor exposure.
Use galvanized or stainless steel screws, not plain nails, because they stay secure and resist rust during cleanup and weather changes. You’ll want enough fasteners to keep the panel tight against the frame, but place them evenly so you don’t split the wood.
Drive each screw flush, then check for gaps that could let water, embers, or debris get in. If the area is damp, choose coated washers for added grip and protection.
When you use the right hardware, you protect your property and join a crew that restores homes with care, precision, and confidence.
Matching Material Strength
Match the plywood and fasteners to the size and condition of the opening so the board-up holds under real stress, not just on paper.
You’ll usually want exterior-grade plywood thick enough to resist flexing; thinner panels can bow, crack, or pull free when wind pushes in. For larger windows or doors, step up to stronger sheet stock and add more fastening points at the edges and corners.
Use screws or anchors that bite solid framing, not weakened trim, and pair them with washers when the surface is soft. If fire or heat has charred the substrate, test each point before you drive it.
When you choose materials this way, you’re protecting the structure with the same care your crew would expect on their own site.
Work Safely Around Fire-Damaged Structures
When a fire has damaged a building, you need to work carefully around weakened walls, unstable roofing, and hidden hazards before any board up begins.
You should inspect for sagging ceilings, cracked masonry, hot spots, and electrical lines that may still carry current. Wear gloves, boots, eye protection, and a respirator if ash or soot is present.
Keep your footing on solid ground and avoid leaning on compromised framing. If a section shifts, step back and reassess before you proceed.
Use daylight or portable lighting so you can see hazards clearly. By moving slowly and checking each area, you protect yourself and everyone helping.
That careful approach helps your crew work together with confidence and stay safe while securing the structure.
Call a Fire Board Up Service Fast
After you’ve confirmed the area is safe enough to approach, call a fire board up service right away so the opening can be secured before more damage sets in.
You’ll get trained crews who measure exposed windows, doors, and other breached areas, then install plywood, fasteners, and supports that fit the structure securely.
That quick response helps block weather, theft, vandalism, and wildlife while your restoration plan takes shape. It also keeps loose debris from shifting and gives adjusters and contractors a clearer site to assess.
When you act fast, you join a chain of smart recovery steps that protects your property and reduces avoidable loss.
Don’t wait for the next storm or nightfall; prompt boarding supports safer cleanup and smoother repairs for everyone involved.
Frequently Asked Questions
How Soon Should Emergency Board up Begin After a Fire?
You should begin emergency board up immediately, ideally within hours after firefighters clear the scene. You’ll limit weather exposure, deter trespassers, and stabilize openings so restoration crews can work safely and efficiently.
Does Homeowners Insurance Usually Cover Fire Board up Costs?
Usually, yes—your policy often covers reasonable fire board-up costs. Like a shield over shattered windows, you’ll protect the structure, limit further loss, and support claims. Check your deductible, documentation, and insurer’s emergency mitigation requirements.
Can I Board up Fire Damage Myself Safely?
You can, but only if you’re certain the structure’s stable, hazards are cleared, and you’ve got PPE, proper fasteners, and help. Otherwise, you’ll risk injury and worsen damage—hire professionals instead.
How Long Does Temporary Boarding Typically Stay in Place?
You’ll usually keep temporary boarding in place a few days to several weeks, until inspections, drying, and repairs finish. Your team’ll remove it once openings’re secured, because you’re not left in a medieval siege.
What Permits Are Needed for Emergency Fire Board Up?
You’ll usually need a temporary emergency repair permit, and sometimes a building, zoning, or fire-damage permit. You should call your local building department first, since requirements vary and inspectors can fast-track urgent board-ups.
Wrap-Up
When a fire leaves your property exposed, you’ll often find that the smallest gap can lead to the biggest loss. By boarding up windows, doors, and roof openings quickly, you protect what’s left from weather, theft, and further damage. Check the structure first, use exterior-grade materials, and work safely. If the job feels risky or urgent, call a fire board up service fast so you can stabilize the site and start recovery with confidence.